Thursday, October 2, 2014

Day 6 - Colorless Blender Tricks + Coloring Animals and Texture

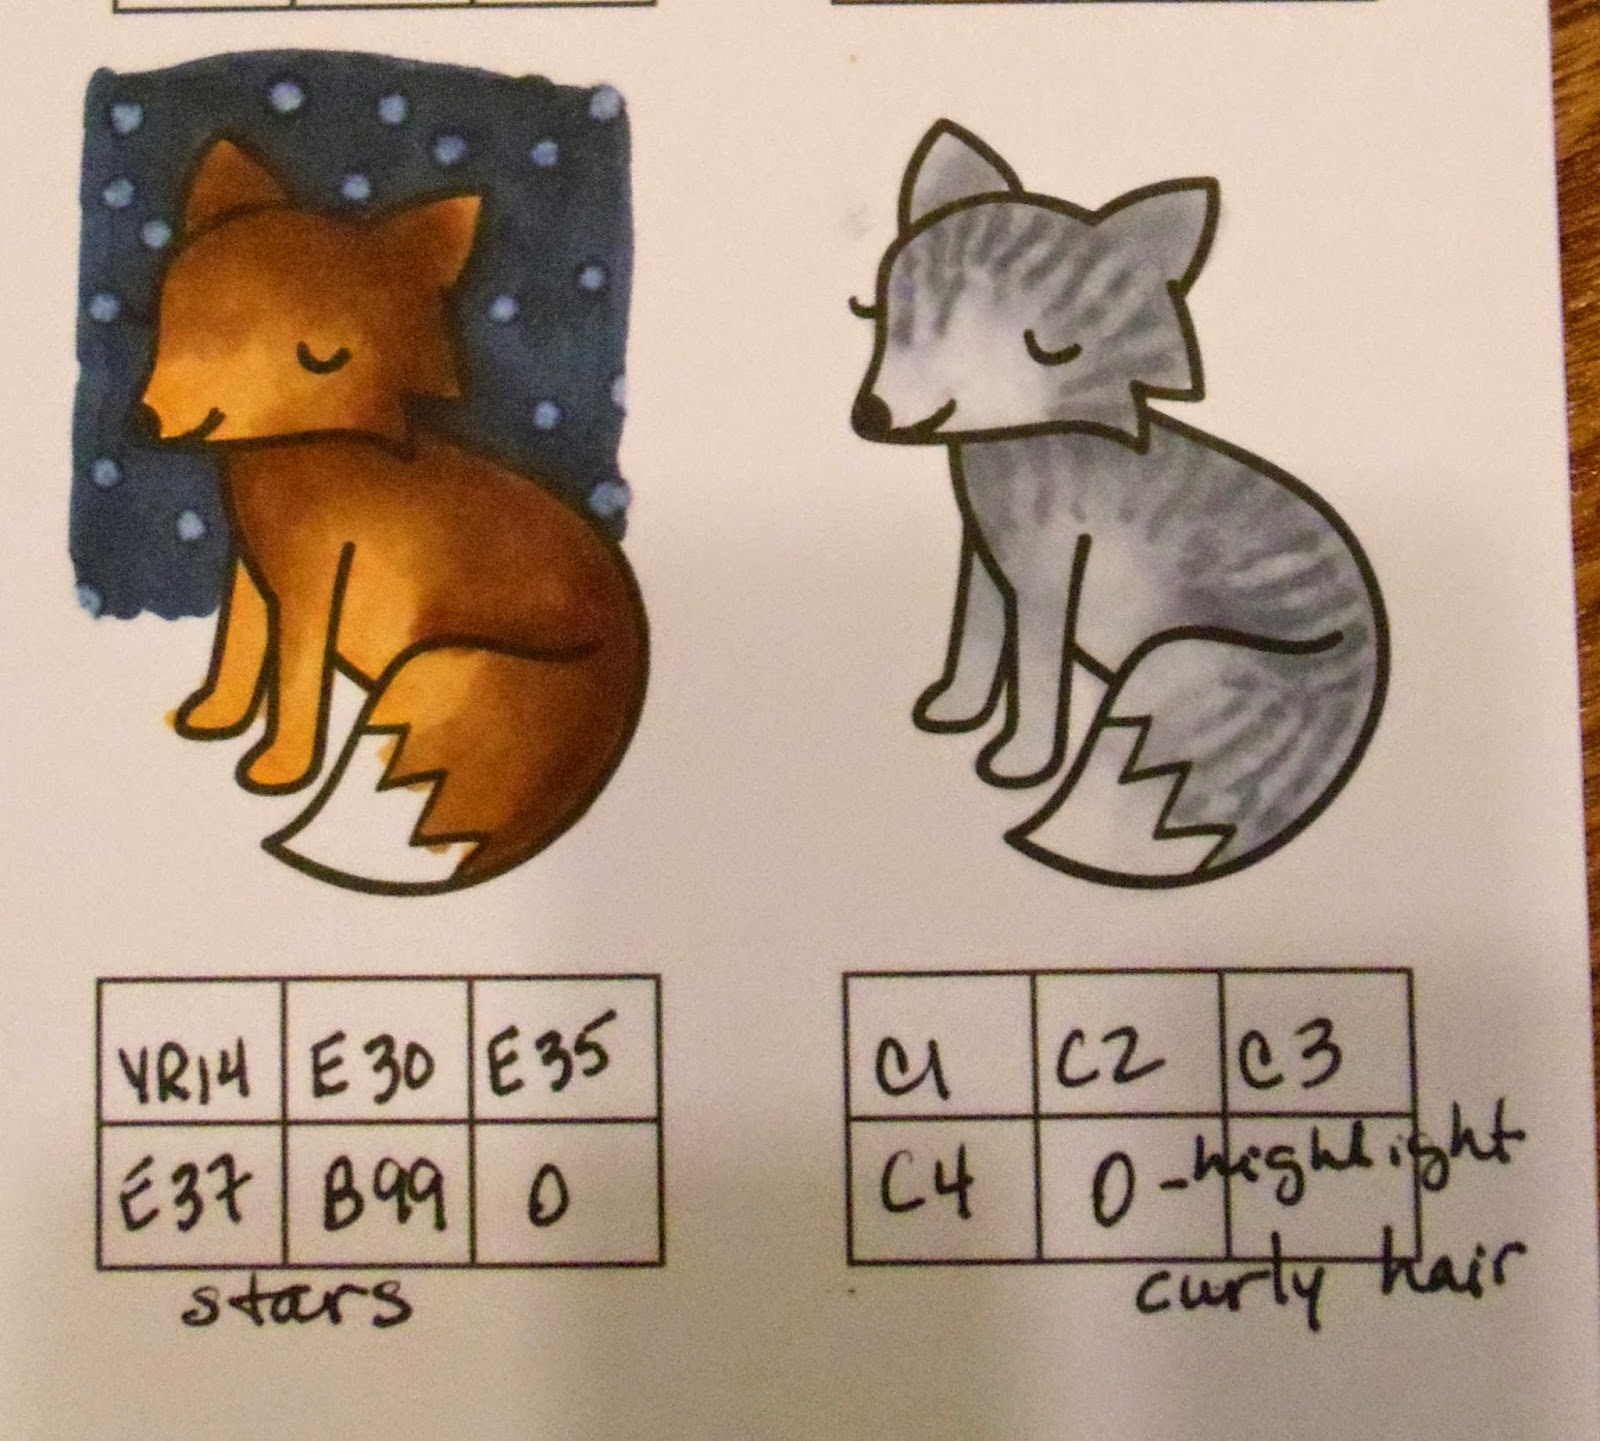
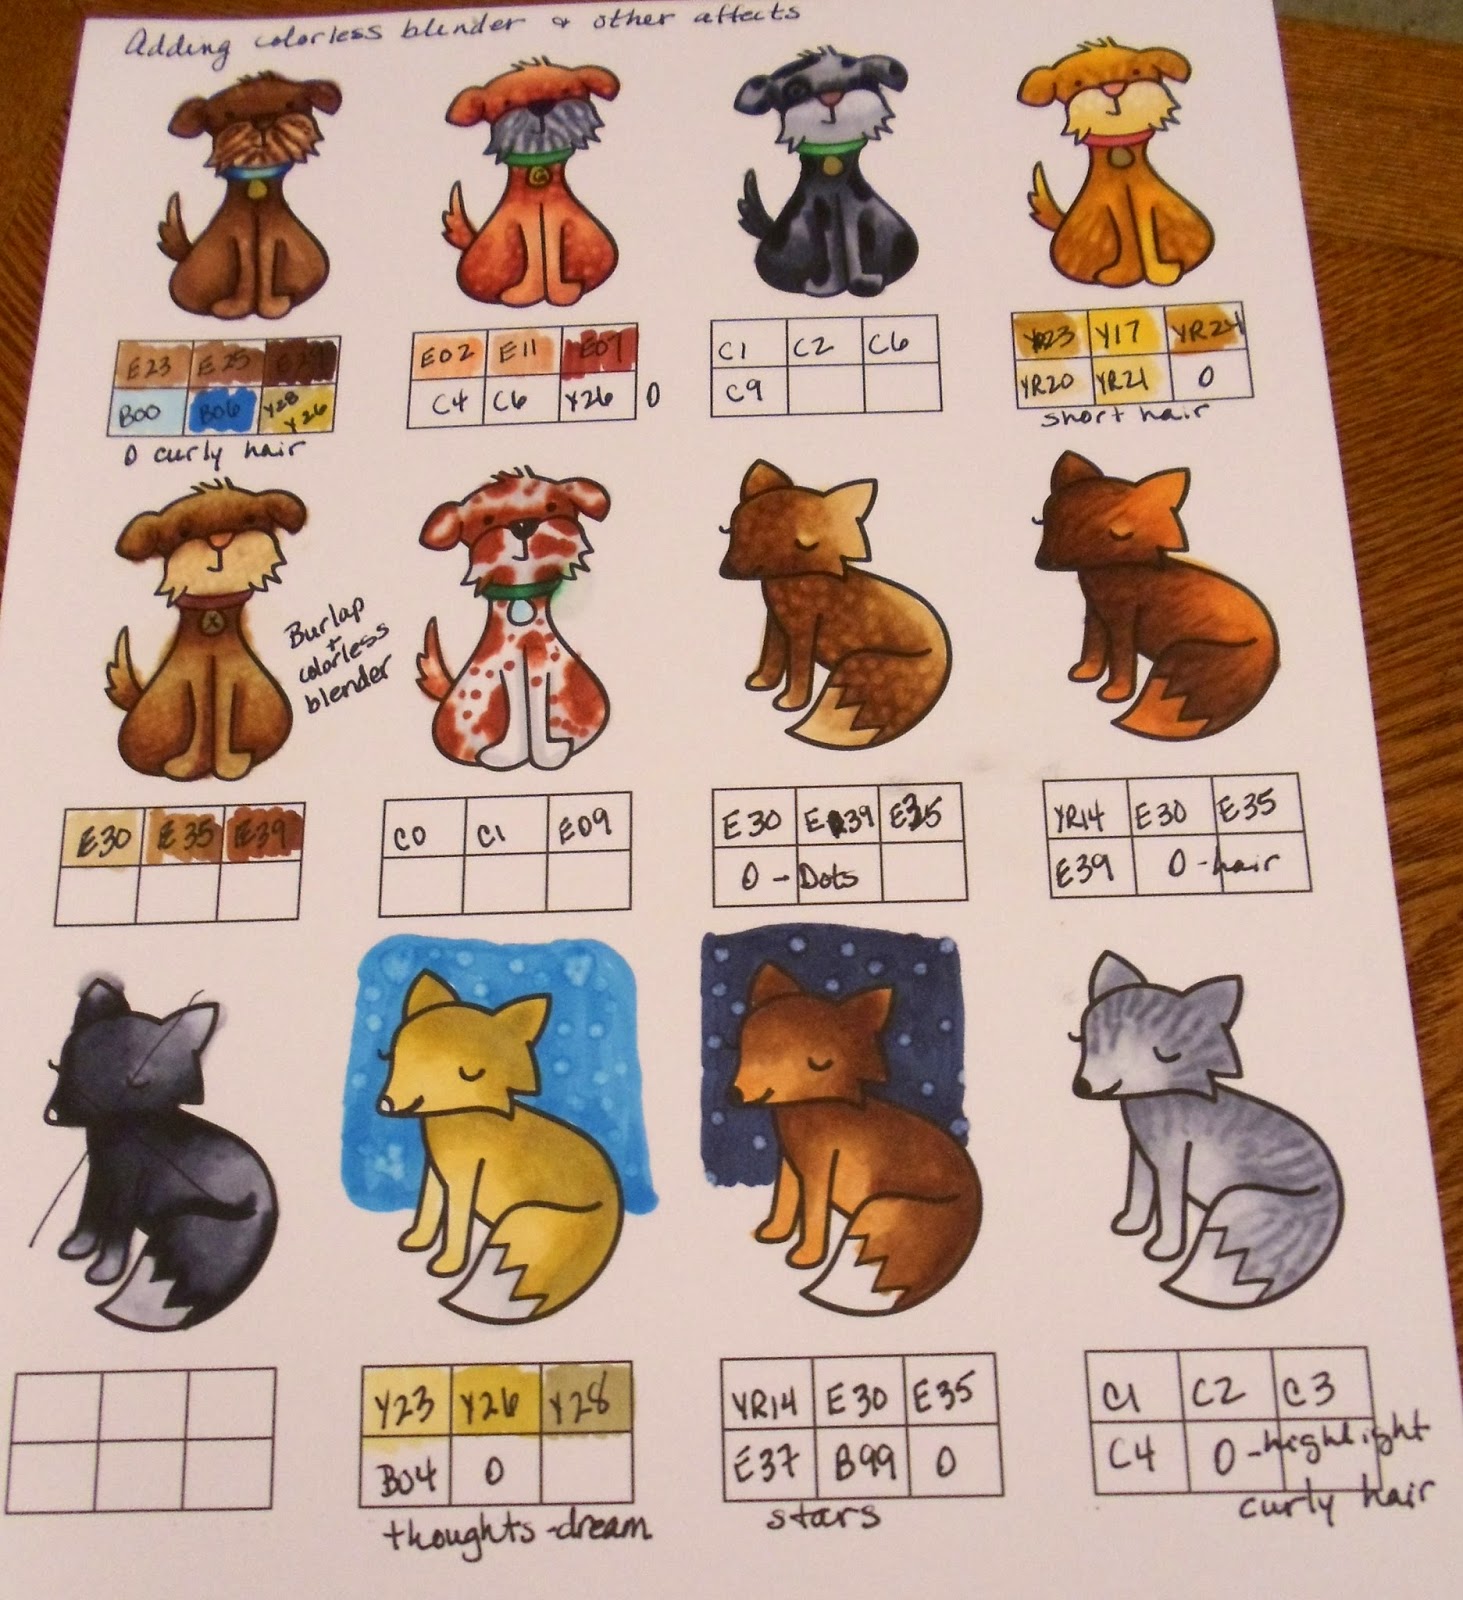
I usually use my colorless blender only when I need to correct a mistake I've made coloring.  I never knew it could be used for so many tricks and adding texture.  I used some of the techniques we learned in On-Line-Class in my practice sheet below.  The two foxes show how to create a starry night background and a curly haired one.  Falling a little behind trying to keep up with the class and finishing cards for OWH (the cleaning and laundry will just have to wait. . .).

Practicing colorless blender and  adding texture
My cute little foxes


Wednesday, October 1, 2014

Day 5, Hair and Skin with Copic Markers


On-Line-Class for day 5 was spent on coloring skin, hair and clothing. Several techniques were provided for coloring hair and skin.  My practice sheets are below.  Depending on the type of character and image will depend on which technique I will use.  The ballerina image drawn by Kristina Werner was my favorite to color.  Hair, skin and clothing can be seen in the ballerina.  Just changing the colors used can create a wide variety of ethnicity.

Practicing the various techniques for Hair and Skin


Red-Head
Different ethnicity coloring

Saturday, September 27, 2014

Day Off from On Line Class; Time for Christmas Cards

The weekend is here so I thought I would take a break from class and make a Christmas Card for OWH.  I can't believe they are due by Oct. 10th.  I won't be sending too many to them this year; they need fewer cards because of the draw down.  The card I made with a new Paper Smooches Stamp Set (A Blessed Christmas).  I love this new set.


Shiny Joy to the World
Less glare to show more details


Thursday, September 25, 2014

Day4, Directional and Non-Directional Shading


Loved today's class on shading using light sources.  We colored flowers using directional and non-directional lighting to add shading.  The videos for the On-Line-Class were exceptional today.  Sandy Allnock, Jennifer McGuire and Kristina Werner showed how they color, it was fantastic and the flowers look beautiful.  Below is my practice sheet from the class, okay so I need more practice. . .lol.

Different technique for shading with light sources

Light source on right
Flicking 

Day 3, Copic Coloring On Line Class

Another day of learning to blend and add shadows to images.  Today we started using grays to add depth and shadows.  This works beautifully when you only have a light and medium marker.  Used mostly the cool grays but found they didn't work for the RV markers.  I tried the warmer grays and it didn't bleed and leave lines of violet.  I'll have to try other combinations to see what works best for different series of markers.  Learning a lot from this class.

Shading with gray Copic Markers

Wednesday, September 24, 2014

Day 2, Copic Coloring On Line Class


Todays class introduced more blending techniques using 2 markers.  Techniques covered were tip to tip, using an acrylic block and feathering to create a mid-tone color.  The mid-tone improved blending between a light and darker marker.  Below are some of my practice birds and butterflies.  Some turned out looking pretty good while others not so much.

Practicing coloring with Copic Markers

Tuesday, September 23, 2014

Day 1, Copic Coloring On Line Class

Day one introduced blending using 2 or 3 Copic markers.  The techniques demonstrated varied from shading with light coming from the upper right to putting down shading where you thought it should be (more of direct frontal lighting).  Below are my practice balloons and boxes; some using 2 markers and some using 3.

2 and 3 Copic Marker Blending